
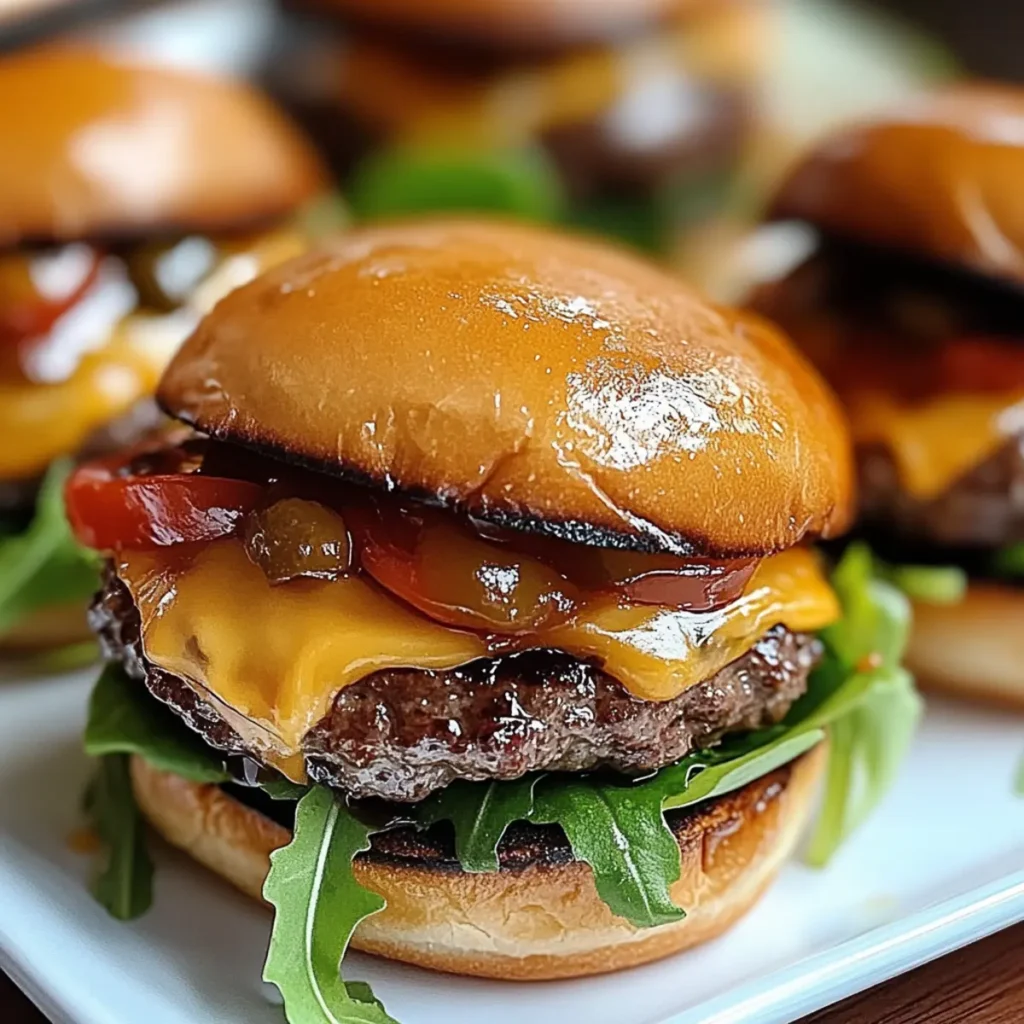
Cheeseburger sliders are like the adorable puppies of the culinary world—tiny, irresistible, and guaranteed to bring a smile to your face. Picture this: perfectly seasoned mini beef patties nestled between soft slider buns, layered with oozy cheese, crisp lettuce, and vibrant tomatoes. Each bite is a juicy explosion of flavor that dances on your tongue, making it impossible to stop at just one. These tiny sandwiches are perfect for game day, movie nights, or just a casual Friday evening when you’re craving a little comfort food.
But the magic of cheeseburger sliders goes beyond their deliciousness. They remind me of summer cookouts at my Aunt Jenny’s house, where the air was filled with laughter, and the smell of grilling burgers wafted through the neighborhood. We’d gather around, eagerly waiting for our share, competing to see who could eat the most without bursting. These sliders evoke those vibrant memories, making them a fun twist on a classic favorite that anyone can whip up at home!
Why You'll Love This Cheeseburger Sliders
- This incredible Cheeseburger Sliders transforms simple everyday ingredients into restaurant-quality flavors that will blow your mind completely.
- Foolproof recipe techniques guarantee perfect results every single time, making even novice cooks feel like professional chefs instantly.
- Stunning visual appeal with gorgeous colors and mouthwatering aromas creates the ultimate Instagram-worthy dish for any special occasion.
- Endlessly adaptable for different dietary needs while working beautifully for meal prep, date nights, or entertaining large groups effortlessly.
Ingredients for Cheeseburger Sliders
Here’s what you’ll need to make this delicious Cheeseburger Sliders:
1 lb ground beef (80/20 blend) – The ideal fat content keeps sliders juicy and flavorful; don’t go too lean or they can dry out.
8 slider buns – Soft and fluffy buns help cradle all the delicious fillings without overpowering their flavor.
8 slices American or cheddar cheese – Choose your favorite cheese; both melt beautifully and add creaminess to each bite.
1 cup shredded romaine lettuce – This adds a refreshing crunch; opt for fresh, crisp lettuce for maximum texture.
1 medium tomato, sliced – Sweet and juicy slices enhance the deliciousness of the sliders; go for vine-ripened for the best flavor.
8 dill pickles – These little tangy gems add a zesty kick that balances the richness of the meat.
2 tbsp ketchup – A classic condiment that adds sweetness and moisture; feel free to swap with your favorite sauce for a twist.
2 tbsp mustard – Adds a zesty tang; yellow mustard works well, but get creative with Dijon for extra flavor!
How to Make Cheeseburger Sliders
Follow these simple steps to prepare this delicious Cheeseburger Sliders:
Step 1: Preheat the Grill or Oven
Begin by preheating your grill to medium-high heat or your oven to 400°F (200°C). Choose the method that suits your mood—grilling gives a smoky flavor, while baking may be easier if you’re making a lot at once.
Step 2: Prepare the Patties
In a large bowl, season the ground beef with salt and pepper, giving it a good mix. This simple seasoning allows the natural flavors of the beef to shine through. Next, divide the mixture into eight equal portions and shape them into small patties that are slightly larger than the buns, as they will shrink while cooking.
Step 3: Cook the Patties
Place the patties on the grill or a baking sheet for the oven. Grill or bake them for about 3-4 minutes on each side. During the last minute of cooking, don’t forget to add a slice of cheese on top of each patty to let it melt perfectly.
Step 4: Toast the Buns
While the patties are finishing up, slice each slider bun in half. If you’re using a grill, you can toss them on for a minute for that perfect golden-brown finish. If you’re baking, a light toasting on a skillet can also do the trick.
Step 5: Assemble the Sliders
Now for the exciting part—building your sliders! On the bottom half of each bun, place a cheesy patty, followed by a handful of romaine lettuce, a slice of tomato, and a dill pickle. Top it off with your favorite squirts of ketchup and mustard, then crown it with the other half of the bun.
Step 6: Serve and Enjoy
Transfer the assembled sliders to a serving platter, and watch the magic happen as everyone gathers around. These cheeseburger sliders are best served warm, and believe me, they won’t last long!
Whether it’s for game night or a simple family dinner, enjoy the joy these little sliders bring. Invite friends over, prepare a platter, unleash your inner grill master, and enjoy the cloud of nostalgia they create. They’ll never suspect how easy and quick they were to make!
You Must Know About Cheeseburger Sliders
- This showstopping Cheeseburger Sliders delivers restaurant-quality results using simple ingredients you probably already have at home.
- The perfect balance of textures and flavors creates an unforgettable dining experience that will have everyone asking for seconds.
- Picture-perfect presentation with vibrant colors makes this dish absolutely Instagram-worthy and guaranteed to impress any dinner guest.
- Incredibly versatile recipe that works beautifully for weeknight dinners, meal prep, special occasions, or even outdoor entertaining sessions.
Perfecting Cheeseburger Sliders Cooking Process
Start by preheating your grill or oven while you prepare the ingredients. Form the patties, then grill or bake them, adding cheese last. Toast the buns during the final minute of cooking for a delightful crunch.
Add Your Touch to Cheeseburger Sliders
Feel free to customize your Cheeseburger Sliders with different cheeses like pepper jack or Gouda. Add jalapeños for a spicy kick or avocado for creaminess. Fresh herbs can also elevate the flavor profile.
Storing & Reheating Cheeseburger Sliders
Store leftover Cheeseburger Sliders in an airtight container in the refrigerator for up to 3 days. Reheat in the microwave or oven until warmed through, but be careful not to overcook.
Chef's Helpful Tips for Cheeseburger Sliders
- This professional-quality Cheeseburger Sliders relies on precise timing and temperature control to achieve restaurant-standard results consistently.
- Master the art of mise en place by prepping all ingredients beforehand, ensuring smooth execution and preventing any last-minute cooking disasters.
- The secret lies in layering flavors throughout the cooking process rather than seasoning only at the end for maximum depth.
- Pro tip: let the finished dish rest for optimal texture and flavor development before serving to hungry guests waiting eagerly.
Sharing this recipe reminds me of a backyard barbecue with friends, where these sliders vanished in minutes. Their laughter and happy faces are a testament to the joy simple food can bring, turning any gathering into a memorable feast.
FAQs About Cheeseburger Sliders
What is Cheeseburger Sliders?
Cheeseburger sliders are mini sandwiches that feature juicy beef patties topped with melted cheese, all nestled between small, soft slider buns. They are the ultimate finger food, perfect for parties, game day snacks, or a quick weeknight dinner. These little delights combine all the flavors of a traditional cheeseburger but in a bite-sized format, making them fun and easy to enjoy. With a variety of toppings and sauces, they can be easily customized to suit everyone’s taste, ensuring that each slider can be a unique experience.
How do I make Cheeseburger Sliders at home?
Making cheeseburger sliders at home is simple and fun! Start by forming small patties from good-quality ground beef and season them to your liking. Cook the patties on a grill or in the oven until browned, placing cheese on top during the last minute to melt. Assemble your sliders by placing the cooked patties on toasted slider buns and adding your favorite toppings like lettuce, tomato, pickles, and condiments. Serve them hot for a delicious treat that everyone will love.
Can I customize my Cheeseburger Sliders?
Absolutely! Cheeseburger sliders are highly adaptable, allowing you to mix and match toppings to suit your preferences. You can experiment with different cheeses like pepper jack for a spicy kick, or gouda for a smokier flavor. Adding ingredients such as jalapeños, avocado, caramelized onions, or even crispy bacon can elevate your sliders from ordinary to extraordinary. Don’t hesitate to get creative and make them uniquely yours!
How do I store leftover Cheeseburger Sliders?
To store leftover cheeseburger sliders, place them in an airtight container and store them in the refrigerator for up to three days. When you’re ready to enjoy them again, reheat the sliders in the microwave for a quick snack or pop them back in the oven to maintain that delicious crispy texture. Just make sure to check that they’re heated through before serving, so they taste as good as the day they were made!
Conclusion for Cheeseburger Sliders
In conclusion, cheeseburger sliders are a fantastic twist on a classic favorite, offering all the flavors of a cheeseburger in a delightful bite-sized package. They are perfect for gatherings, parties, or a simple family meal, allowing everyone to indulge without a hefty commitment. The versatility in toppings ensures that each slider can be customized to individual tastes. So, roll up your sleeves and give these cheeseburger sliders a try—you’ll be amazed at how quickly they disappear!
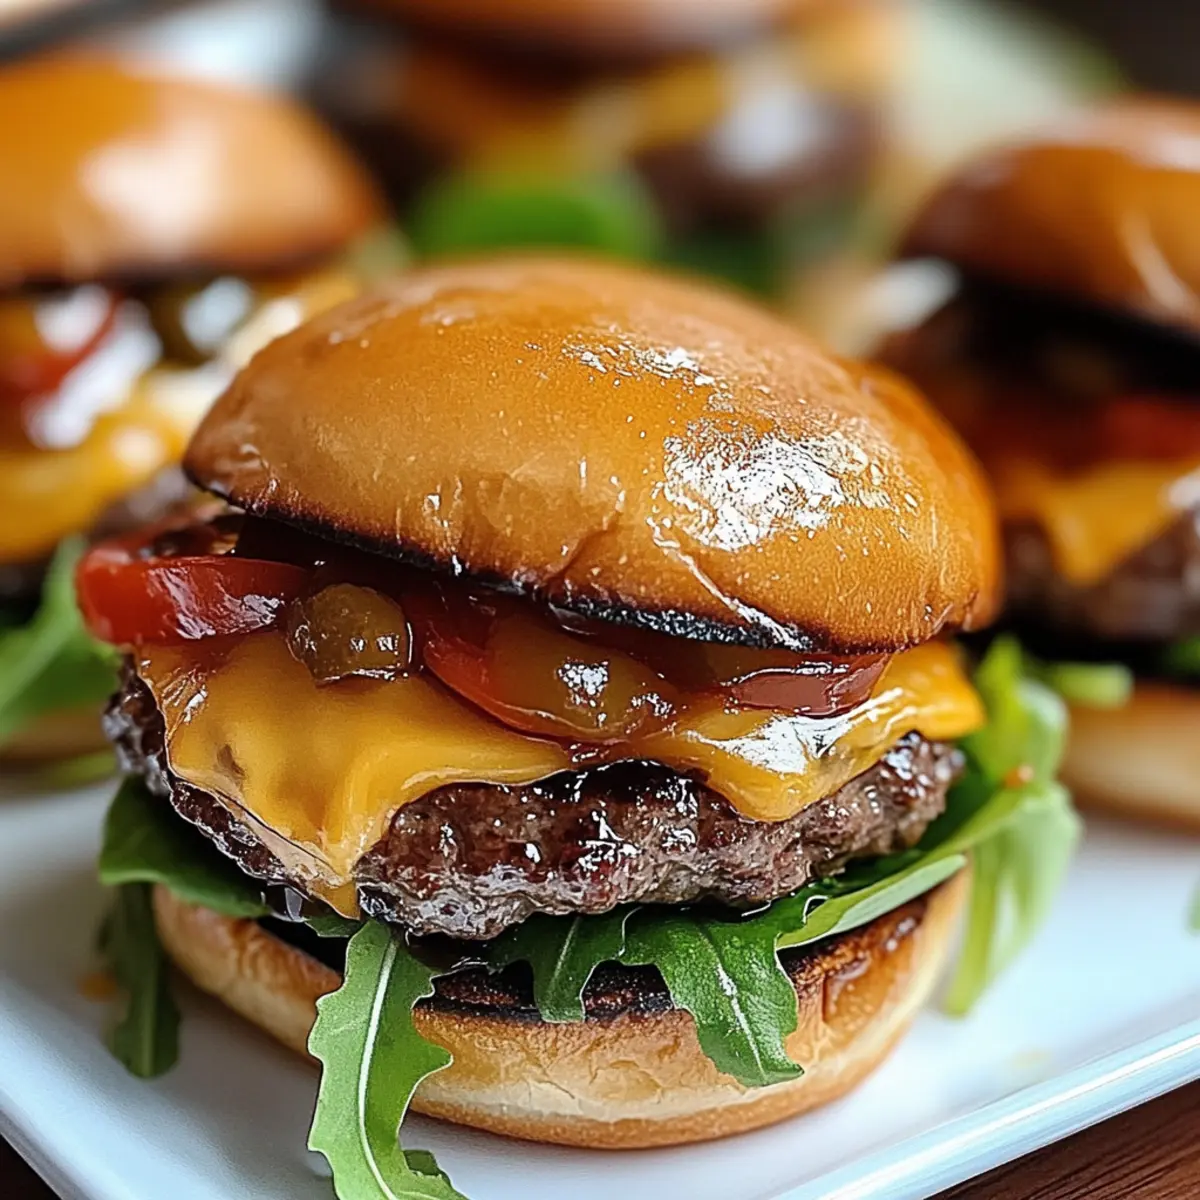
Cheeseburger Sliders
Ingredients
Equipment
Method
- Preheat grill to medium-high heat or oven to 400°F (200°C). If using an oven, spray a baking dish with nonstick cooking spray.
- In a large bowl, mix ground beef with salt and pepper, then form into eight small patties.
- Grill or bake patties for 3-4 minutes on each side. During the last minute of cooking, add cheese on top to melt.
- While patties cook, slice slider buns in half and toast until golden brown.
- Assemble sliders by placing a patty on each bottom bun and topping with cheese, lettuce, tomato slices, pickles, ketchup, and mustard.
- Serve immediately and enjoy!